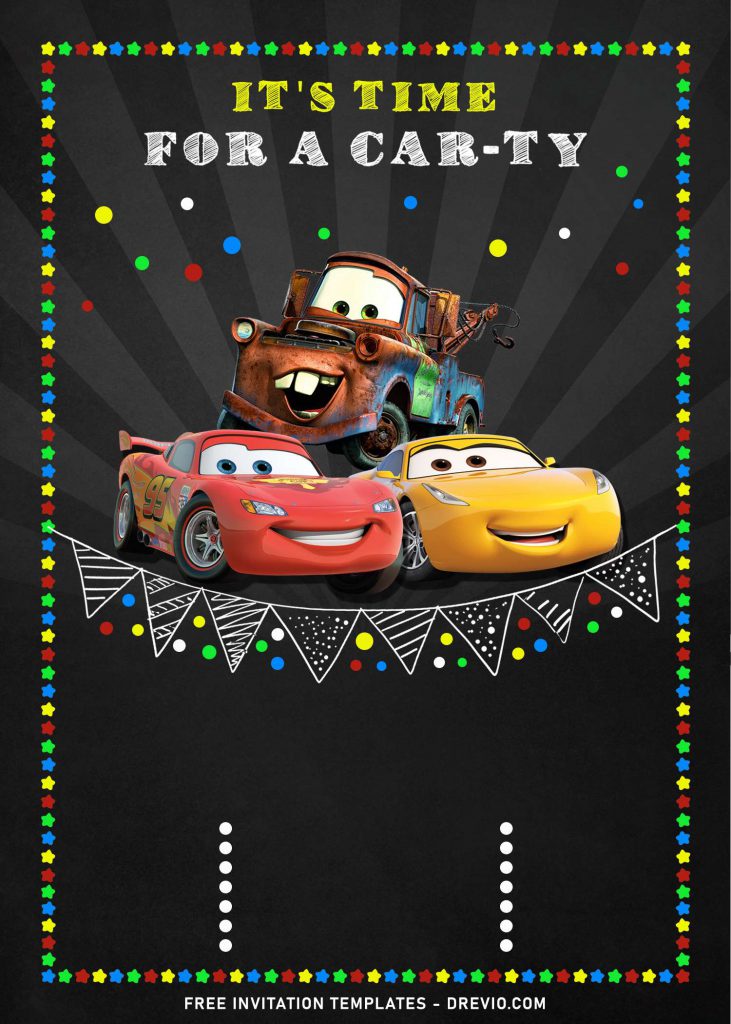
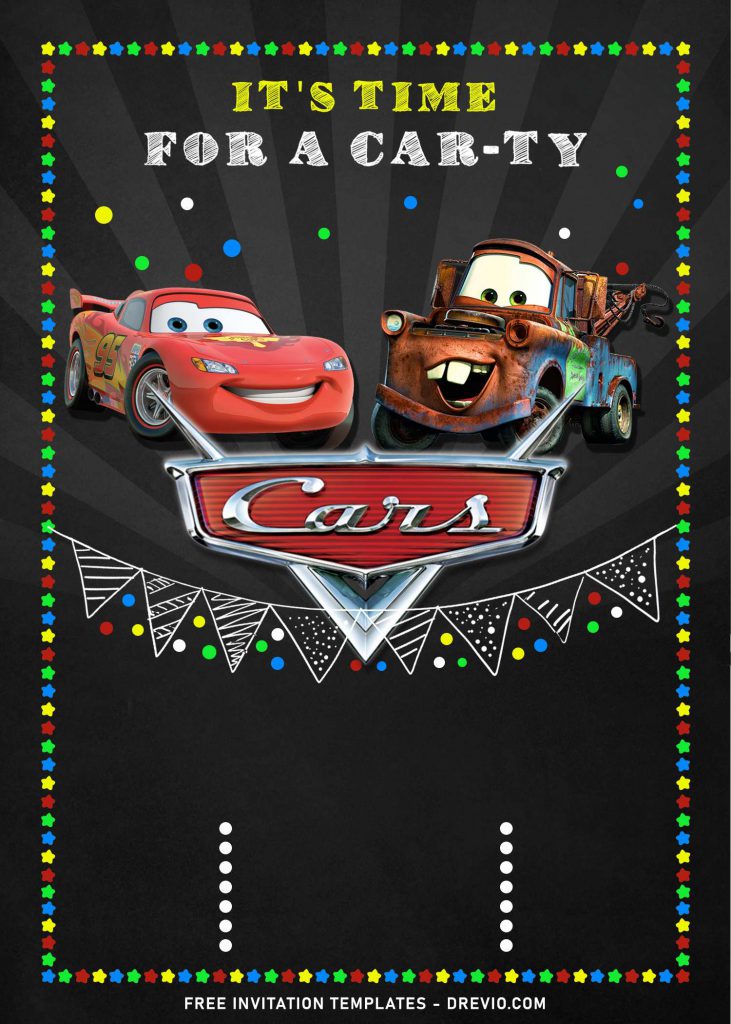
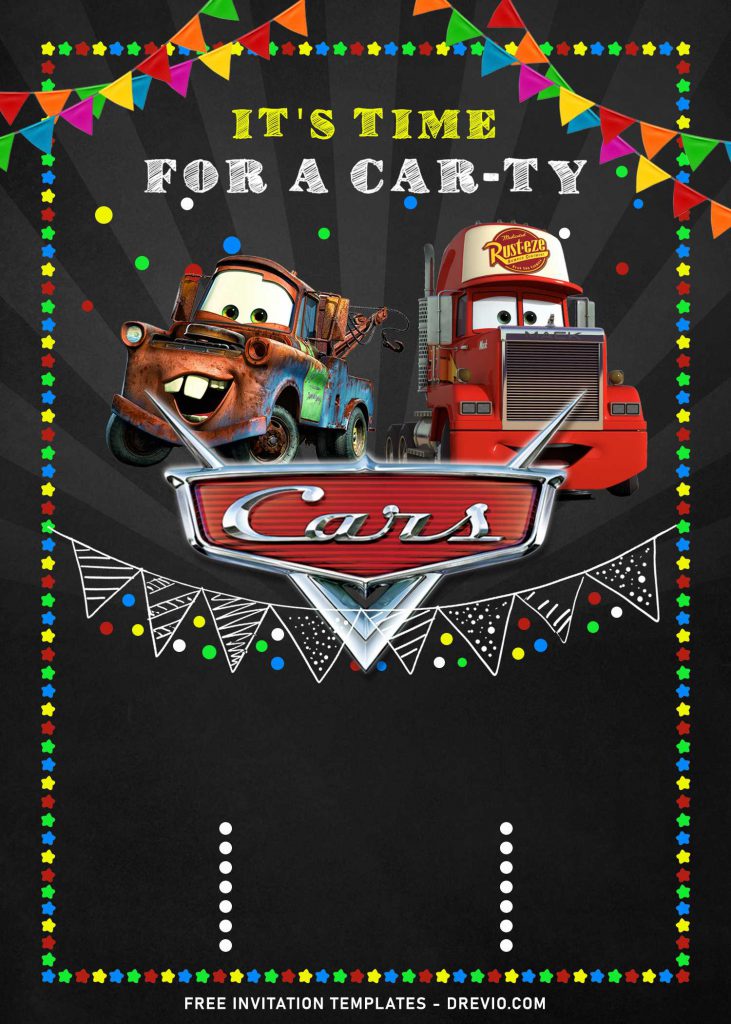
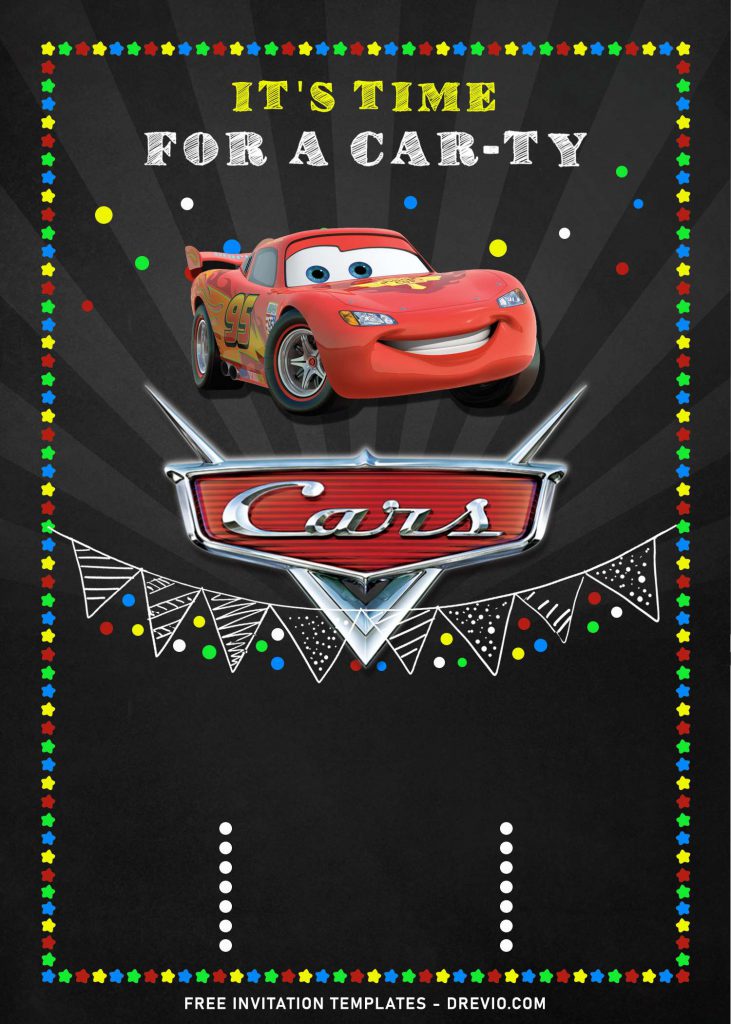
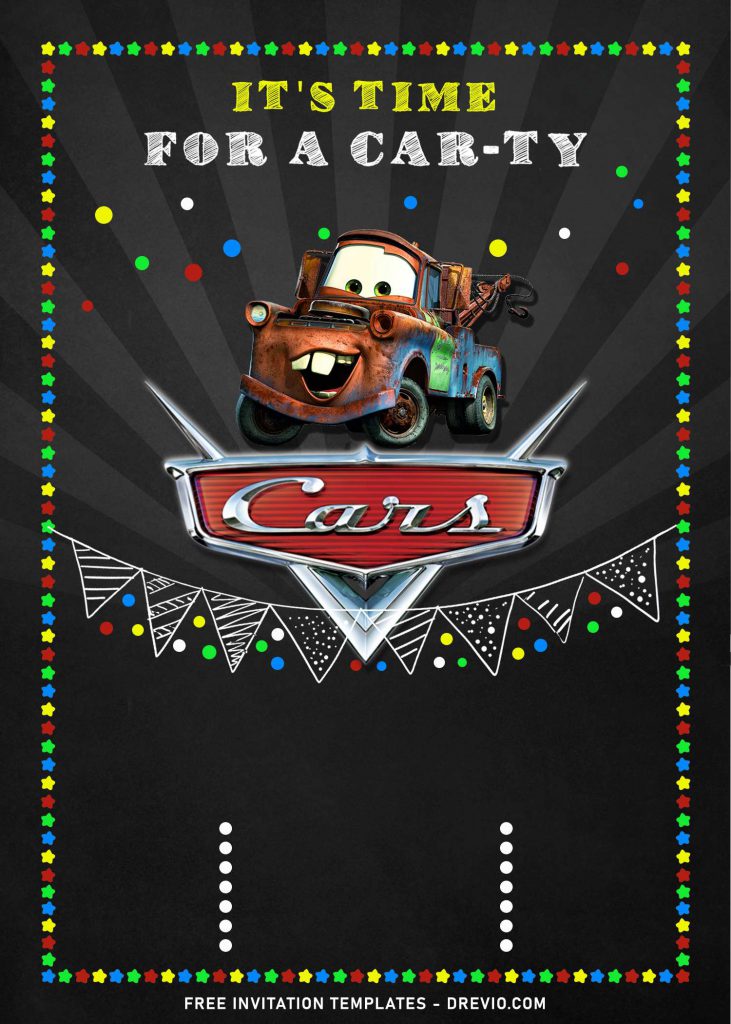
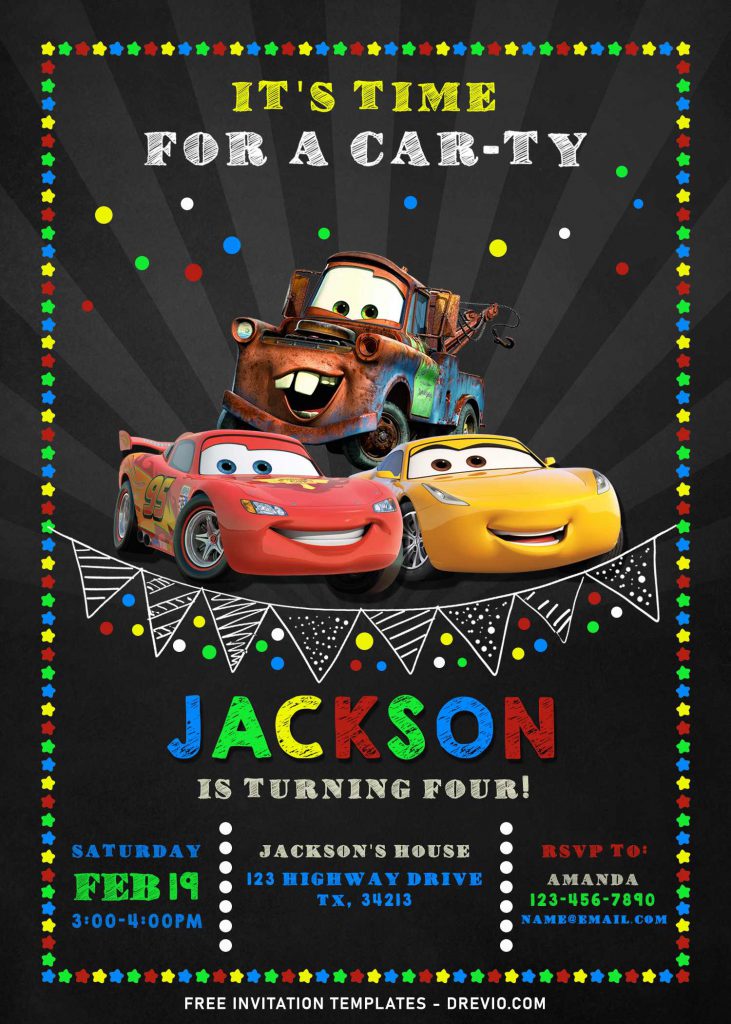
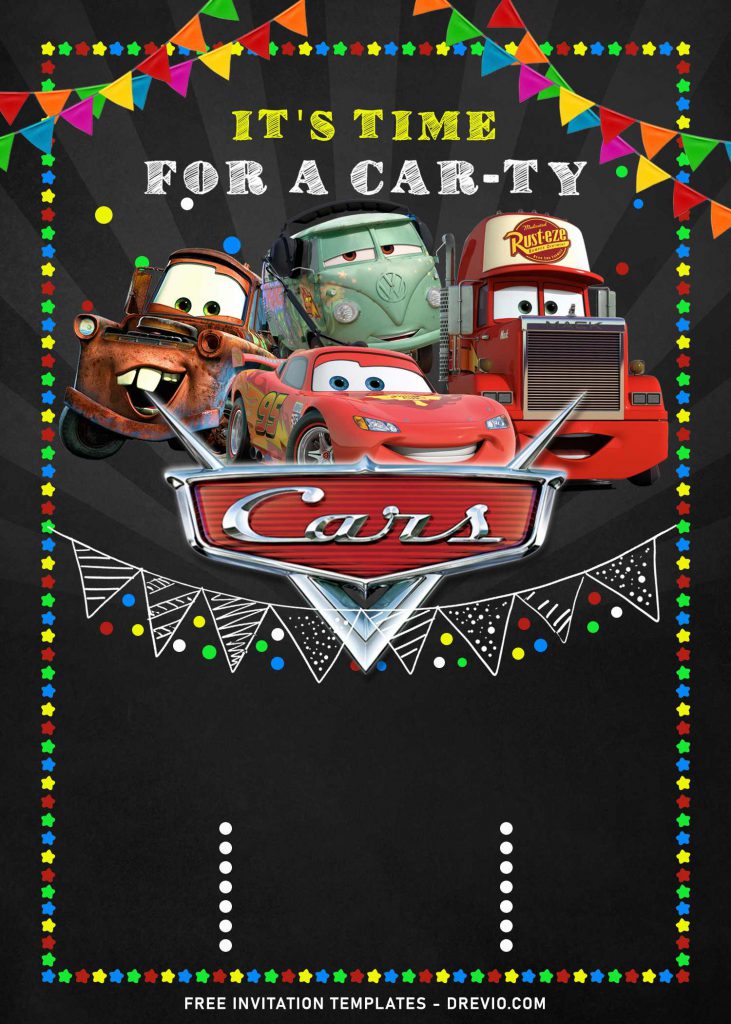
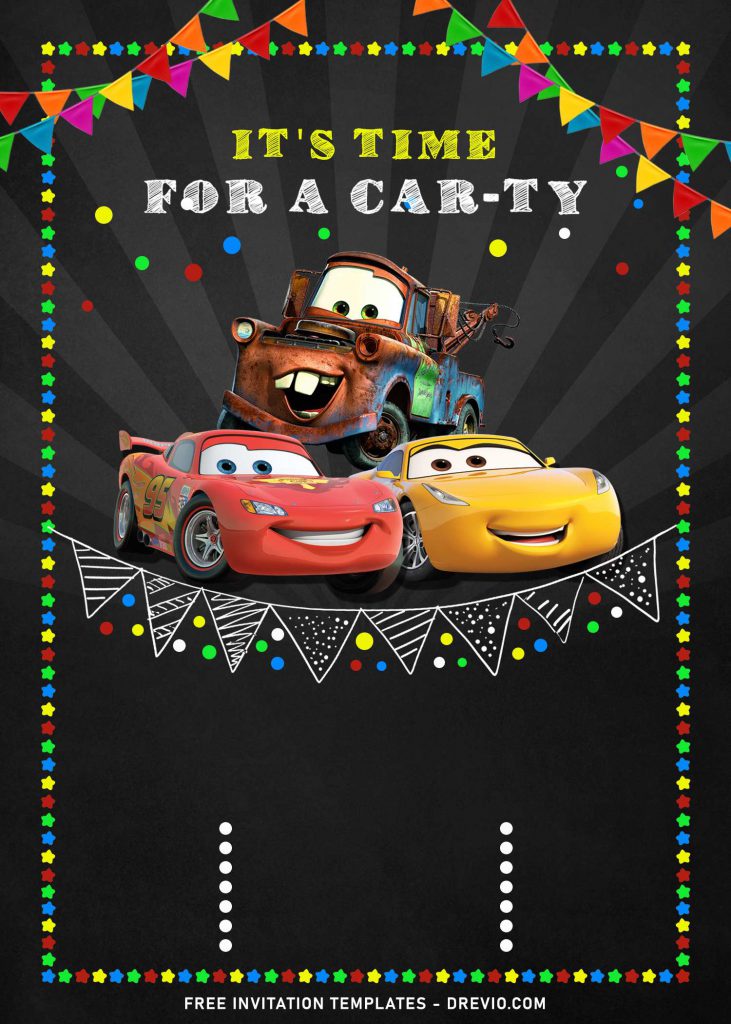
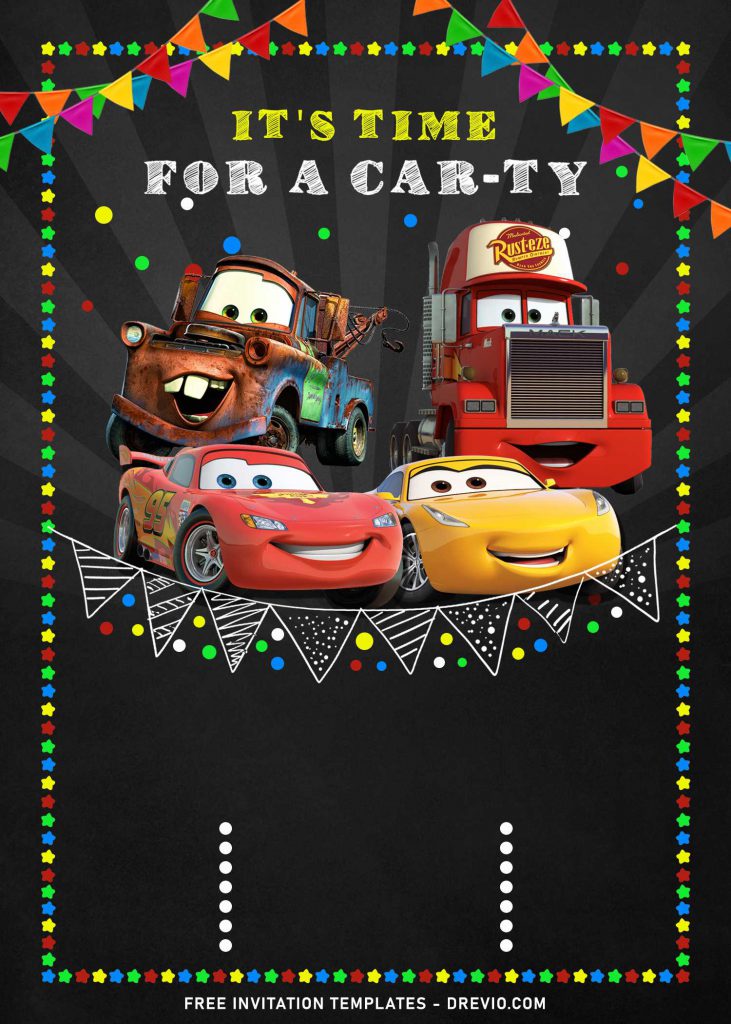
Disney is the perfect example of multi-million worthy company that almost everyone in this world know it very and very well. Throughout the age barrier, from kids to adults, from Mickey and Minnie mouse that was firstly aired in 50’s, to your kid’s favorite fast and cute automobile, Cars, featuring the iconic Lightning McQueen. Cars itself has been successfully through almost two generations, since it was aired on 2006, followed by the 2nd series in 2011 and 3rd in 2017.
This wasn’t exactly first time I did ended up digging my past design, pick it as inspiration to create another, fresh rendition of it. These 9+ Cute Disney Cars inspired invitation templates might also give you a great hope for getting cute and awesome kid’s birthday invitation for absolutely free.
Let’s personalize your kid’s birthday invitation card with one of this cute design. Each designs will have different images of characters from the original Disney Cars, such as Lightning McQueen, Doc Hudson, Mater, Sally Carrera, Filmore and much more. The one thing that makes it different from others was the Chalkboard style, it has chalkboard background, bunting flags or garland and so forth. I also made a unique but so adorable colorful stars border design, perfect to make it looks not so plain or too much “whitespaces” in the design.
How to Download
If you’re ready to keep it as yours, you may need these following simple instructions,
- Right-Click each one of your selection.
- Then Select “Save Image As”, locate the destination folder.
- Click “Save” or tap “Enter” to start the download process.
- Prepare the apps, such as Adobe Photoshop or Ms. Word, then you can open the file with one of those apps.
How to Customize
- First of all, you need to download fonts, or surely you can go with the default font options that Ms. Word or Adobe Photoshop have already provided.
- To open the file, you need either of those apps that I mentioned earlier.
- Open the app first, then go to File > Open > Locate the file.
- To insert text in Ms. Word: Go to “Insert Tab” > Text-box > Simple text box > Type your own text.
- To insert text in Adobe Photoshop: Go to the “Tools Panel” (Left) and select the Horizontal Type tool. Click your image where you would like to insert text and type a phrase. When you’re done, press Escape to exit the text field. Notice that a new layer with your text has appeared in the Layers panel.


