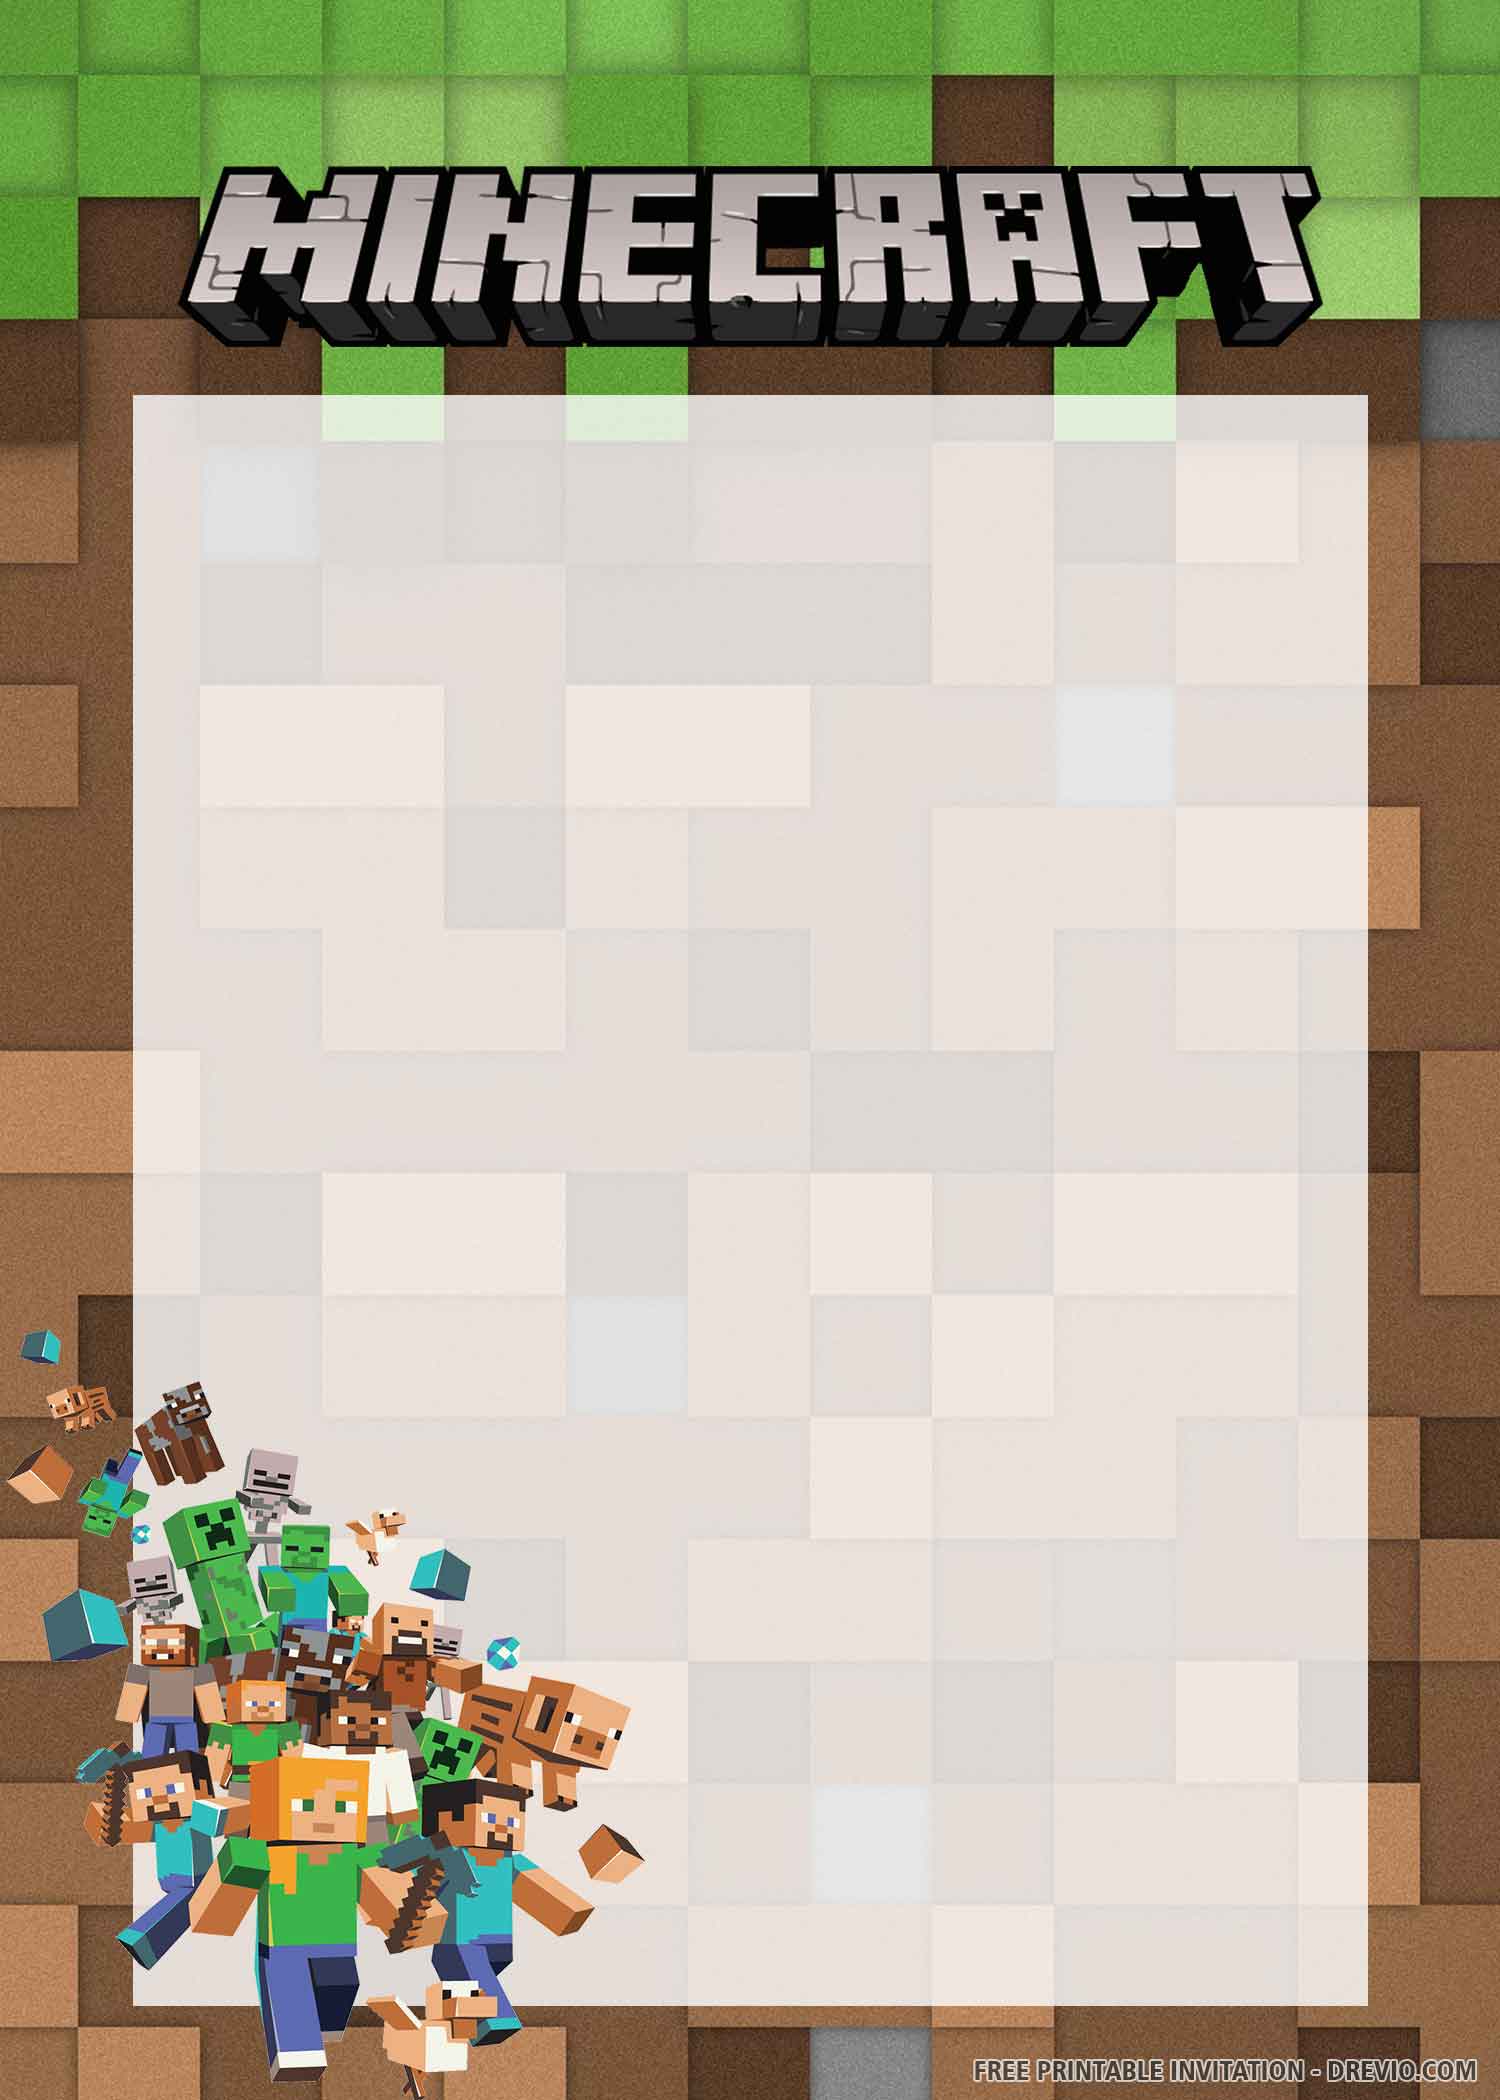
Template design? What’s that? And how it can help you create your own invitation card in a couple of minutes? Especially among bride & groom as well as many parents out there, who wants to celebrate their kid with unique invitation card design. Actually, the use of this particular design is providing pre-finished design, and what you need to do is inserting the text or party information into the design.
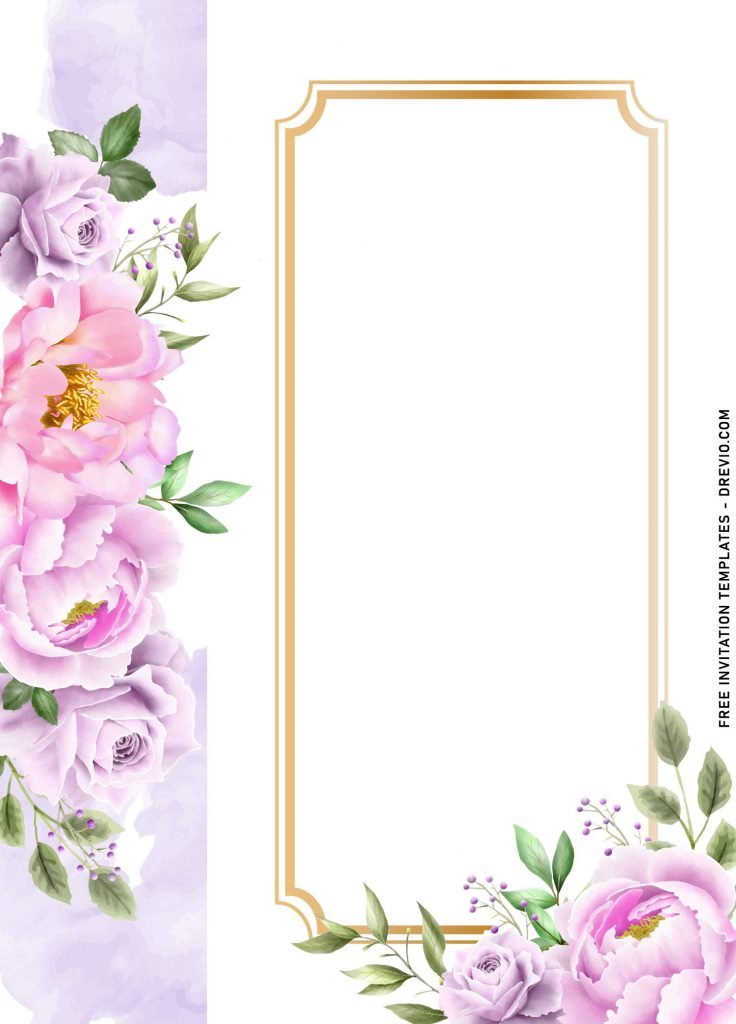
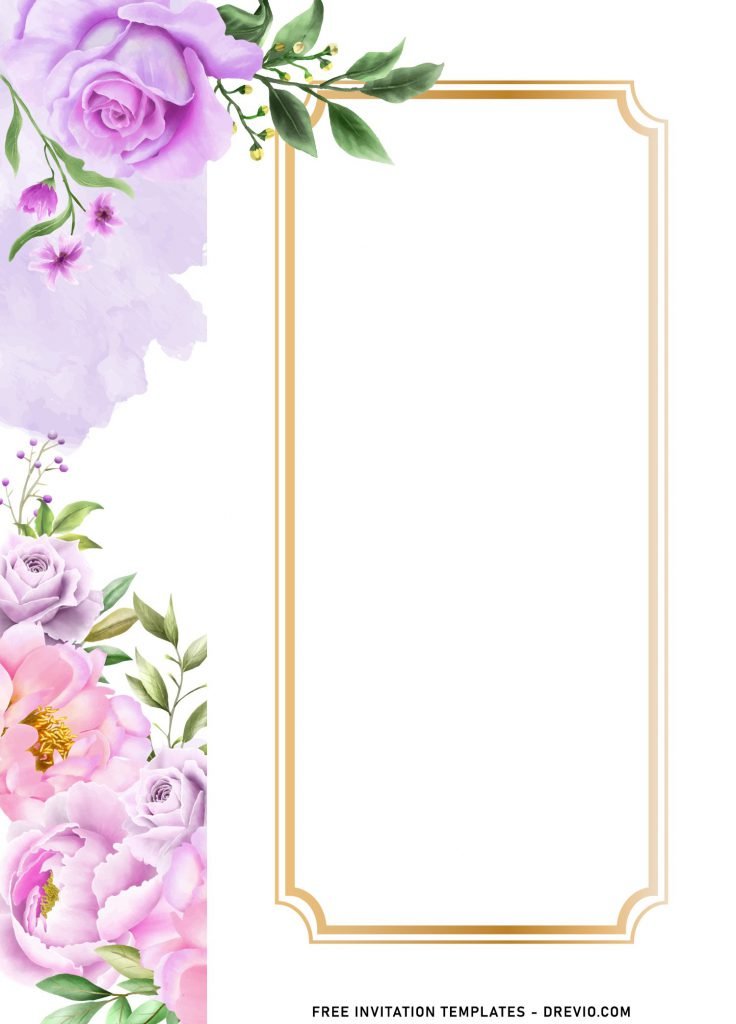
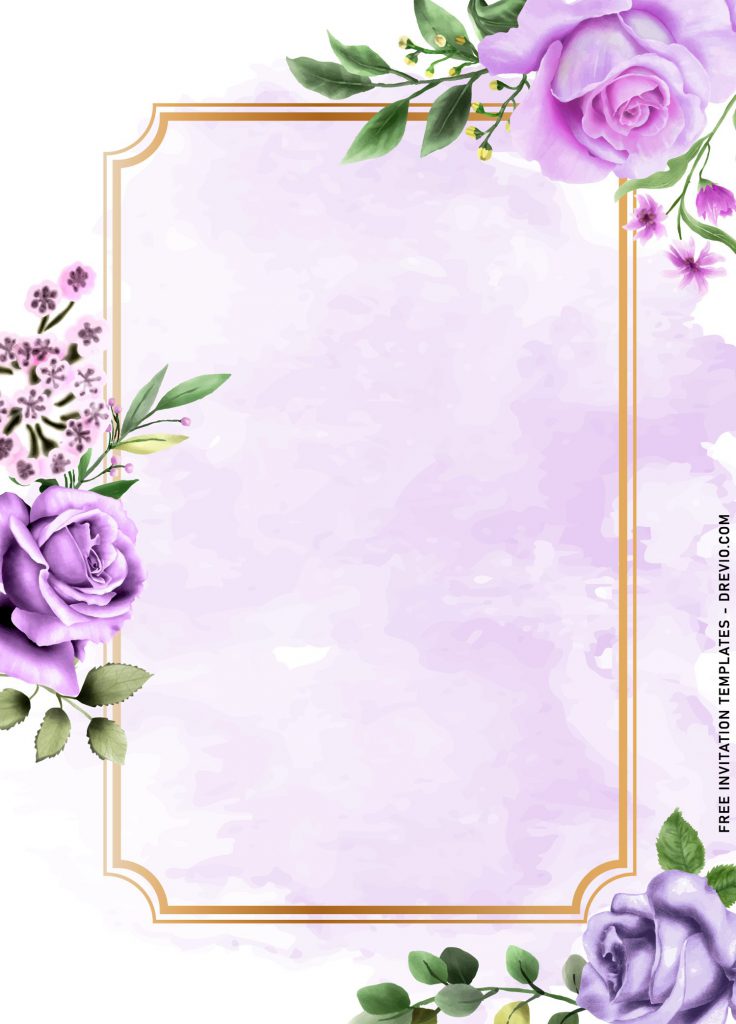
There are 7+ designs here, which you can get it all for free. The design is bit unusual considered to what you might usually see these days. But, don’t get me wrong, this collection still had its own way to attract everyone’s attention. First thing first, you will be presented with portrait orientated template design, each of them will have place to accommodate your text and since there are seven of them, it means you will get a pretty good versality to choose which one is better for you and go with it.
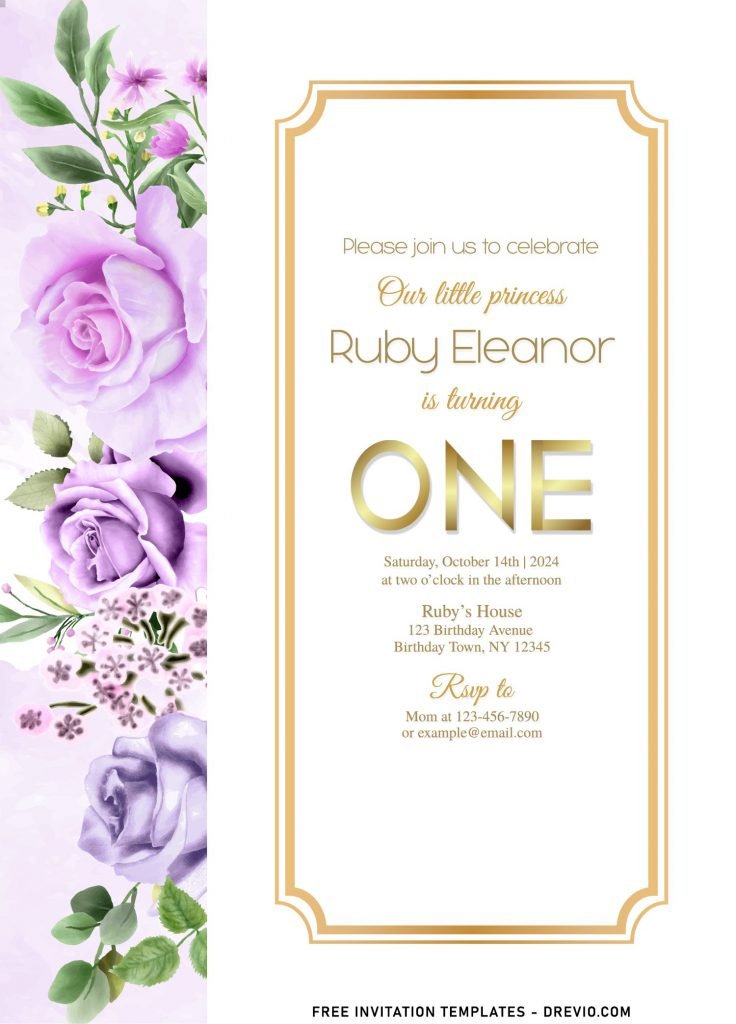
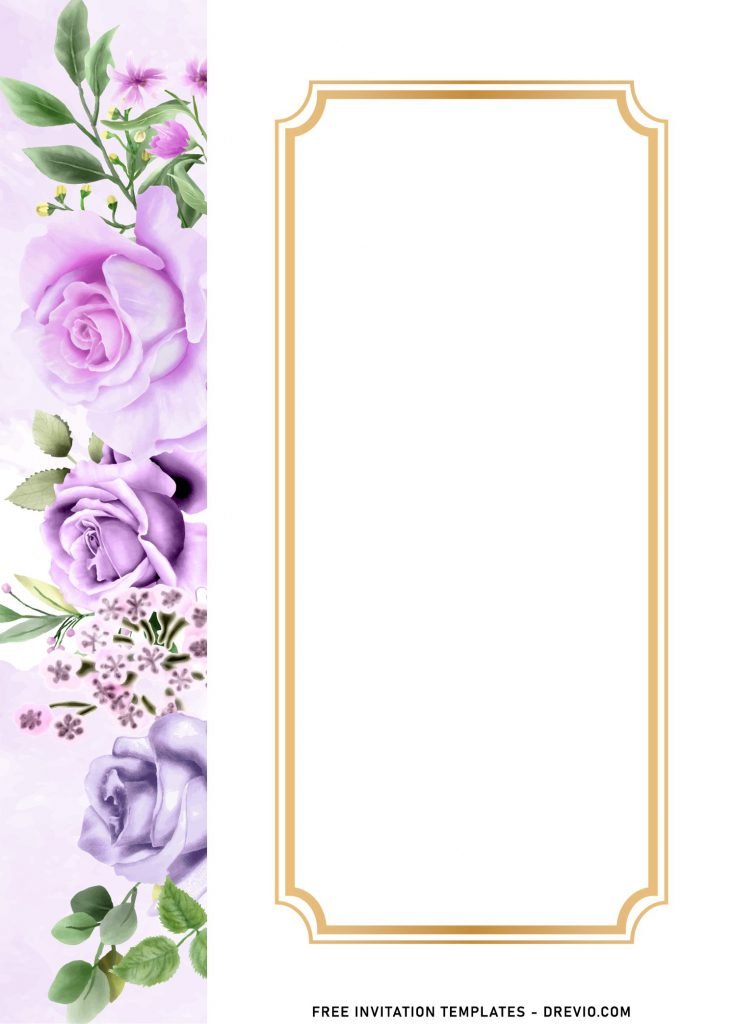
This template works great with cardstock paper, the gold frame and text will be stood more than you’re using other type of paper, such as cotton and kraft paper. Aside from that, you also get gorgeous Floral decoration placed next to / around the place where your text is displayed. From gorgeous Magnolias to Roses on each sides of the card. Which one is my favorite? My favorite was the one that I personally picked it as today’s post cover. It as quite large “Text-box”, with vintage-ish ornament (Frame) and gorgeous Floral on the left.
Download Instructions
- Right-click each template you desired.
- Select “Save Image As”, then locate the folder.
- Click “Save” or tap your “Enter” key.
- The download process will begin shortly.
How to Insert Text in Photoshop
- Open the file first, by opening the Adobe Photoshop and Go to “File” > Open. In the next dialog, browse our template and click open.
- Go to the Tools panel (It’s vertically displayed on the left side of your screen), select the Horizontal Type tool. Click your image where you would like to insert text and type a phrase.


