It’s time to party with Hatchimals!
Although, we almost feel it’s being forgotten for a while, I think there are many people in this world do still think that this cute coll-egg-tible items are yet from over and think to feature it as their kid’s birthday party theme.
You can feel if this would be a great trend to work with, moms. Hence, you don’t need to be afraid to sweep all of your previous idea and opt in this one. If you love this idea, you would be even more excited to see these then.
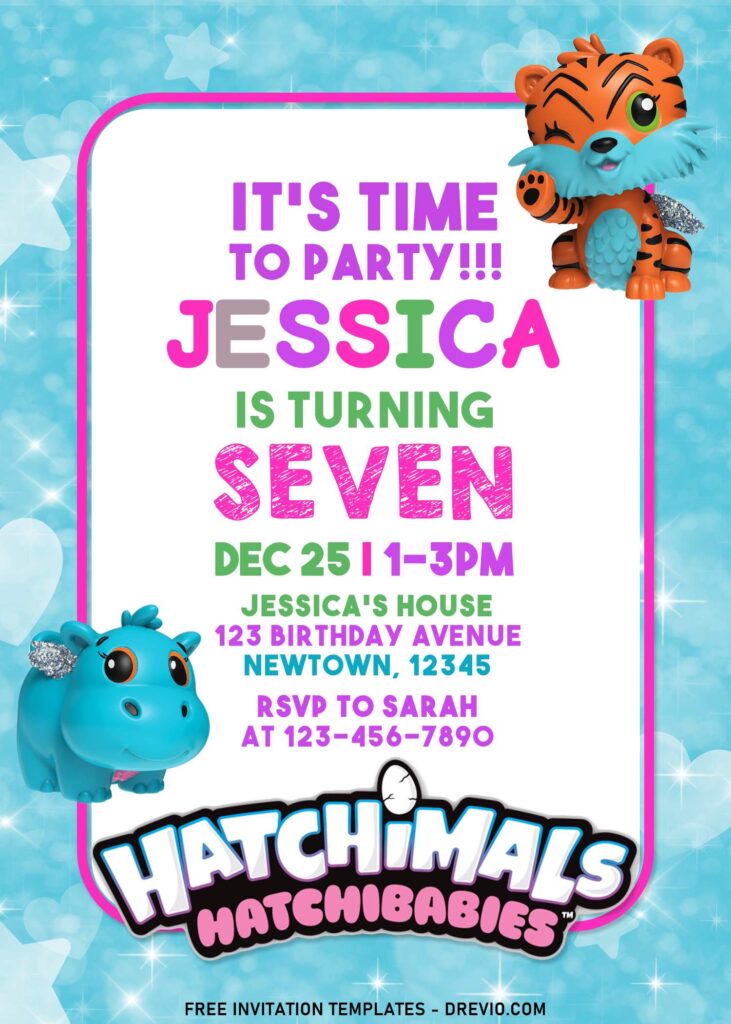
The glimmered glitters and pinkish accents took over the typical type of birthday invitation card, and transformed it into a whole new charming piece of design that surely our little girls’ eyes will be so enlighten when they see this.
Adorable Hatchimals robotic-animal creatures have been brought here, to please the little one’s desire to collect it. From the adorable Tiger, to the lovely pinkish Hippo with cute big eyes and glitter ear rings.
How to insert Text in Paint + Print
- Basically, you’ll need open the file, once the download process is finished, in this case, we’re going to use Default Windows App; Paint/Paint 3d (Windows 10)
- After that, you have to click the “A” symbol, once you click it, you’re going to point it at the place where you want the text to be written/placed and drag it.
- Try to type some random word, if it’s showing up, then you can erase it and type your original word.
- To change the font, you need to highlight the word and click the drop-down arrow, next to “Calibri” word.
- Once everything is done, you can jump into the last step, and it would the “printing” session.
- To print the template, you can either click “File” Menu, on the top left corner, above “Paste” Option, and Click “Print”
- Or Just press this genius shortcut “Ctrl + P” at the same time.


