The beautiful thing when we get to see or maybe we are the one who throws the wedding party is, we had plenty of tricks to impress everyone (Guest) with astounding party stationery. You might have this in your mind, “How can I do that? While I don’t have any clue to do it properly.” That’s normal, and even I felt how bad this is when we want to do something that we clearly don’t know how to do it.
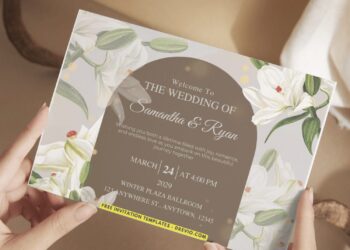
To figure out how to nail it perfectly, you can read plenty of useful information on Internet. Trust me, nothing is impossible, unless you wanted to be someone who can turn everything into gold (I’m joking ?). See below and find out how this template can help you to create your invitation card.
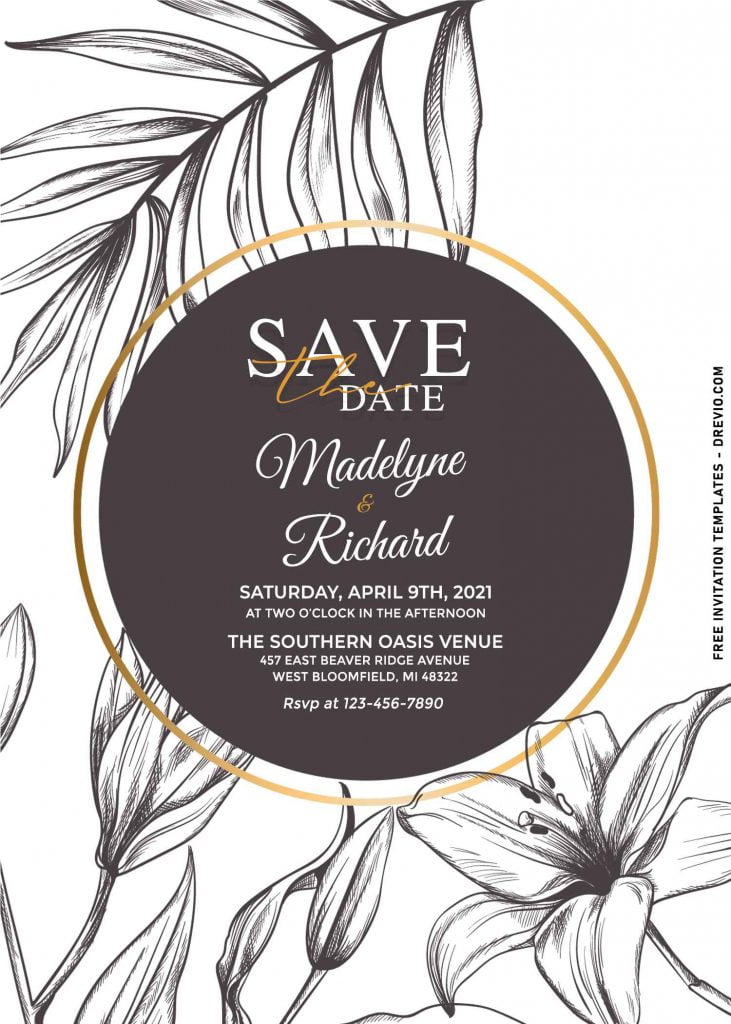
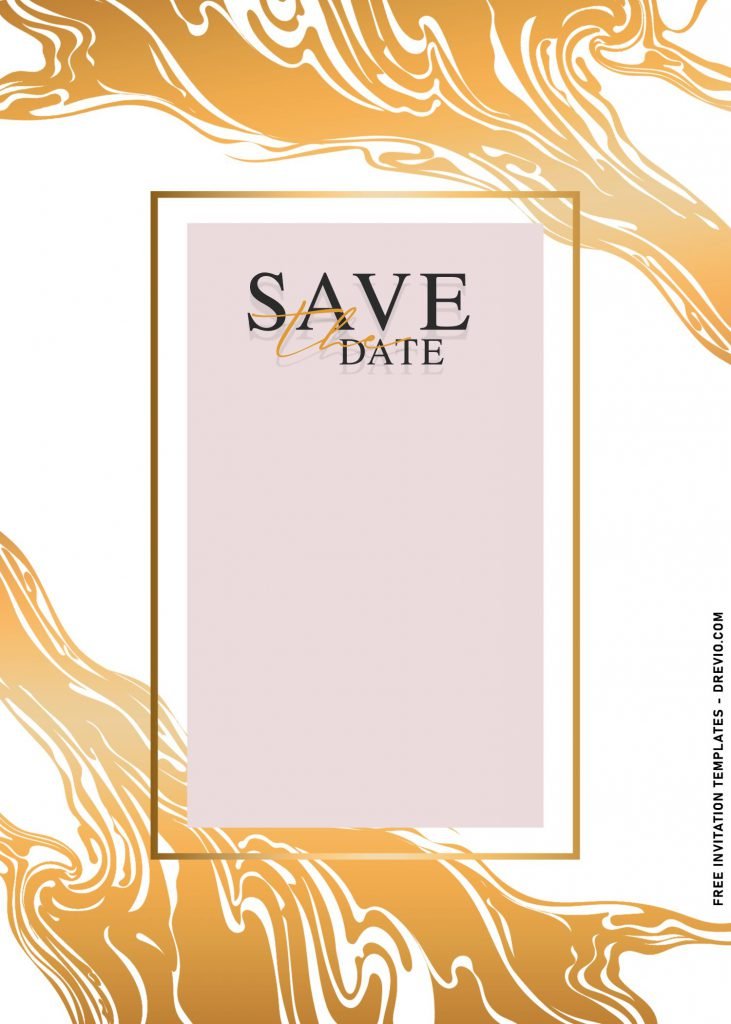
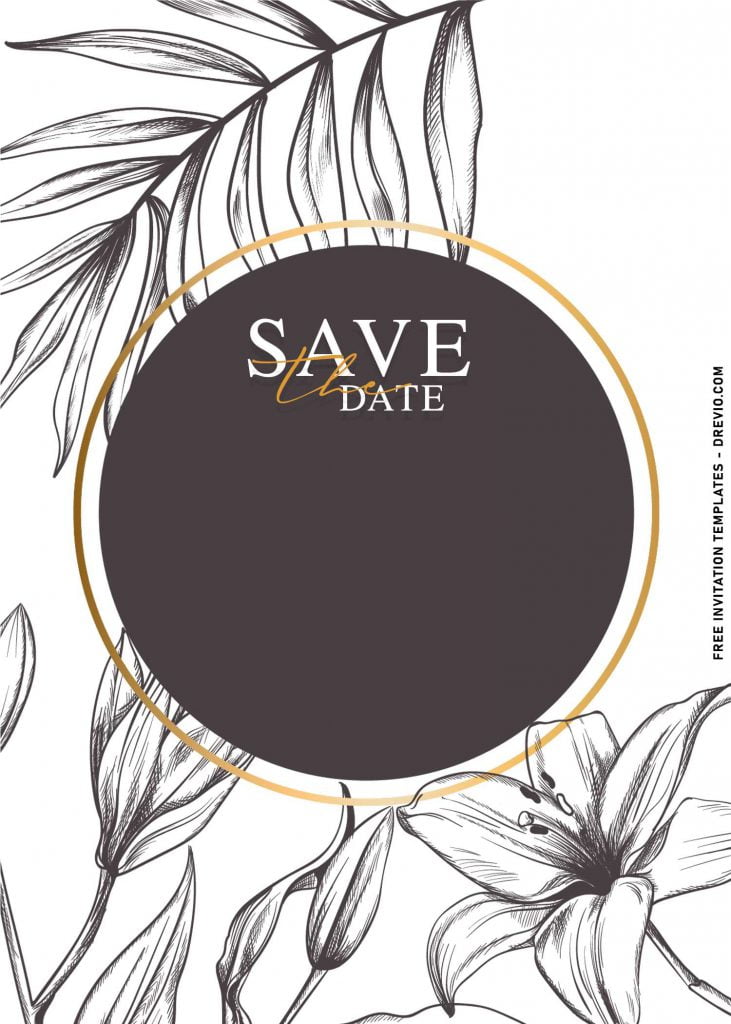
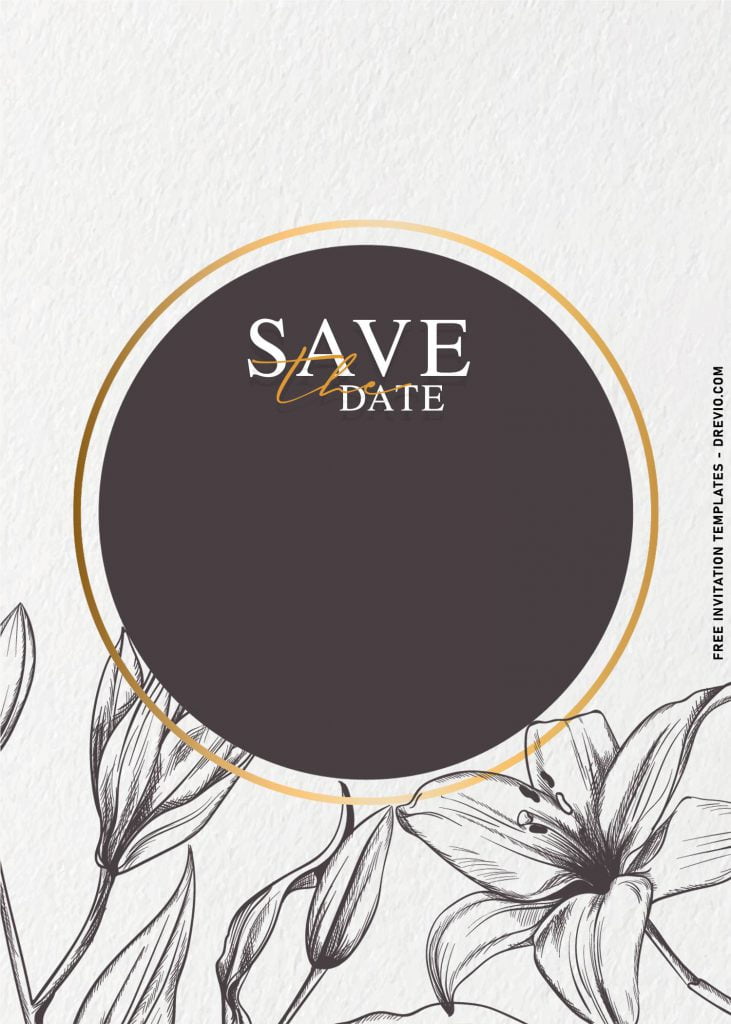
It’s a little weird to say how much effort I took to make this properly. However, I hope you’re going to love it. This collection has beautiful Floral in black silhouette, along with refined Gold foil accent on its text box and marble graphic which decorate the background layer of the card.
If you can’t wait to see and get this stunning collection, you can read the following guides. It has been written in easy-to-understand way, so even beginners are able to do it.
Download Instructions
- Right-click each template you desired.
- Select “Save Image As”, then locate the folder.
- Click “Save” or tap your “Enter” key.
- The download process will begin shortly.
How to Insert Text in Photoshop
- Open the file first, by opening the Adobe Photoshop and Go to “File” > Open. In the next dialog, browse our template and click open.
- Go to the Tools panel (It’s vertically displayed on the left side of your screen), select the Horizontal Type tool. Click your image where you would like to insert text and type a phrase.
- To change the Font-style/size, it’s displayed on top/Ribbon Menu, by default it was set using Calibri Font, click that > and scroll the list to find your favorite font-style. For the font-size, it goes the same as previous steps.


