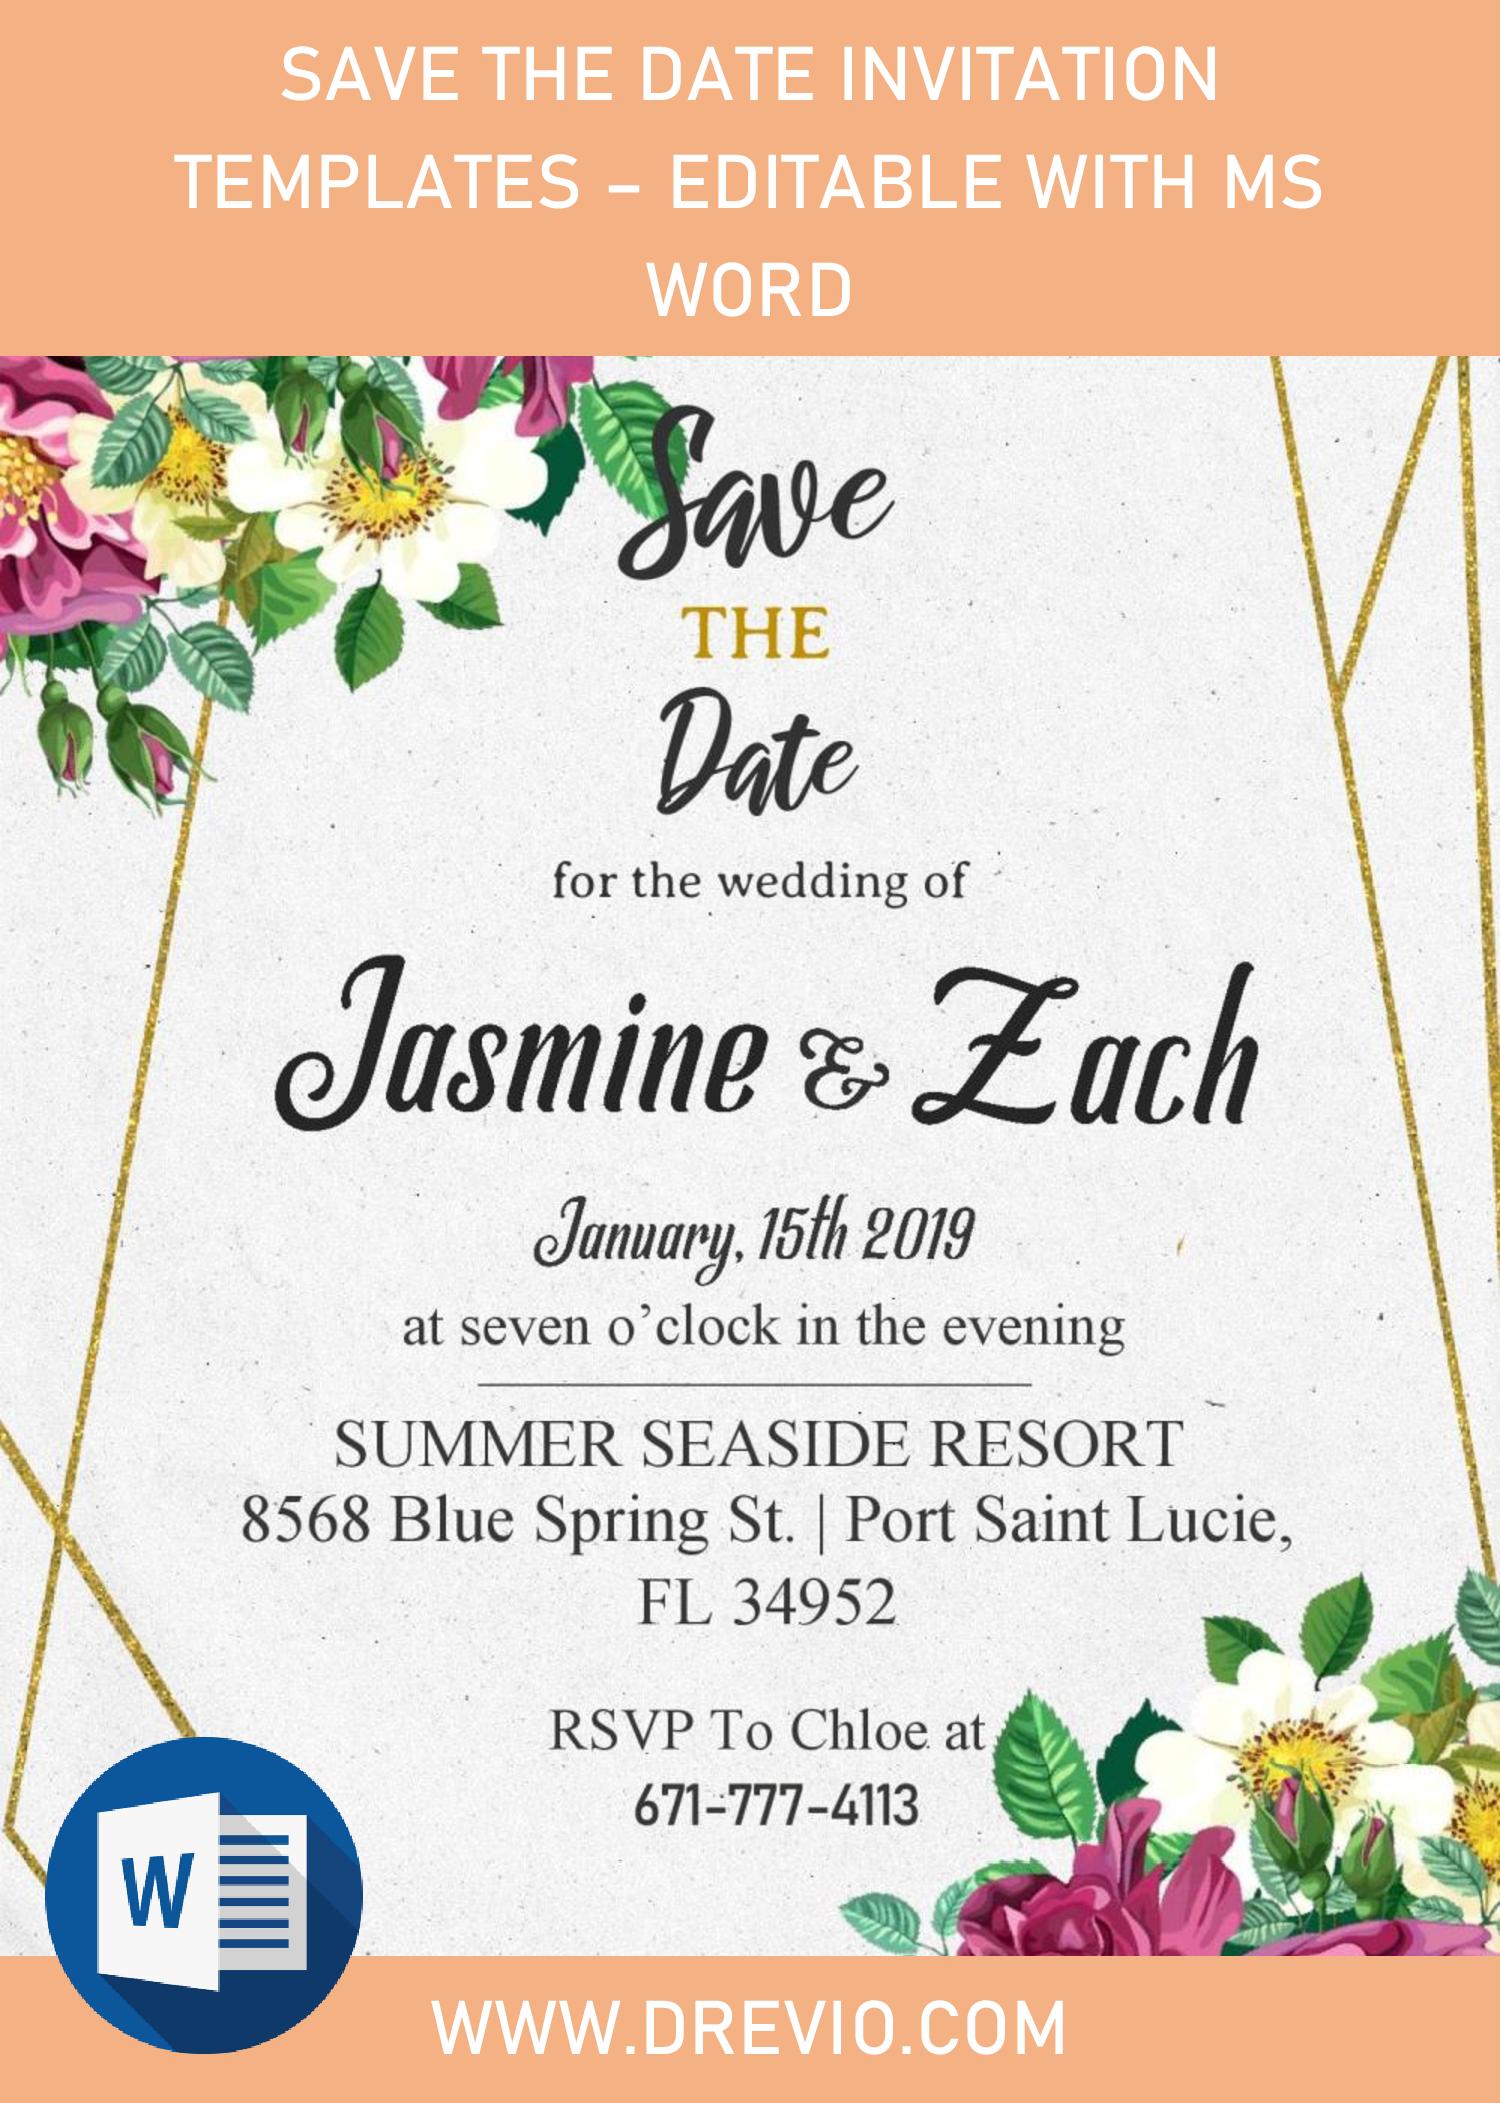
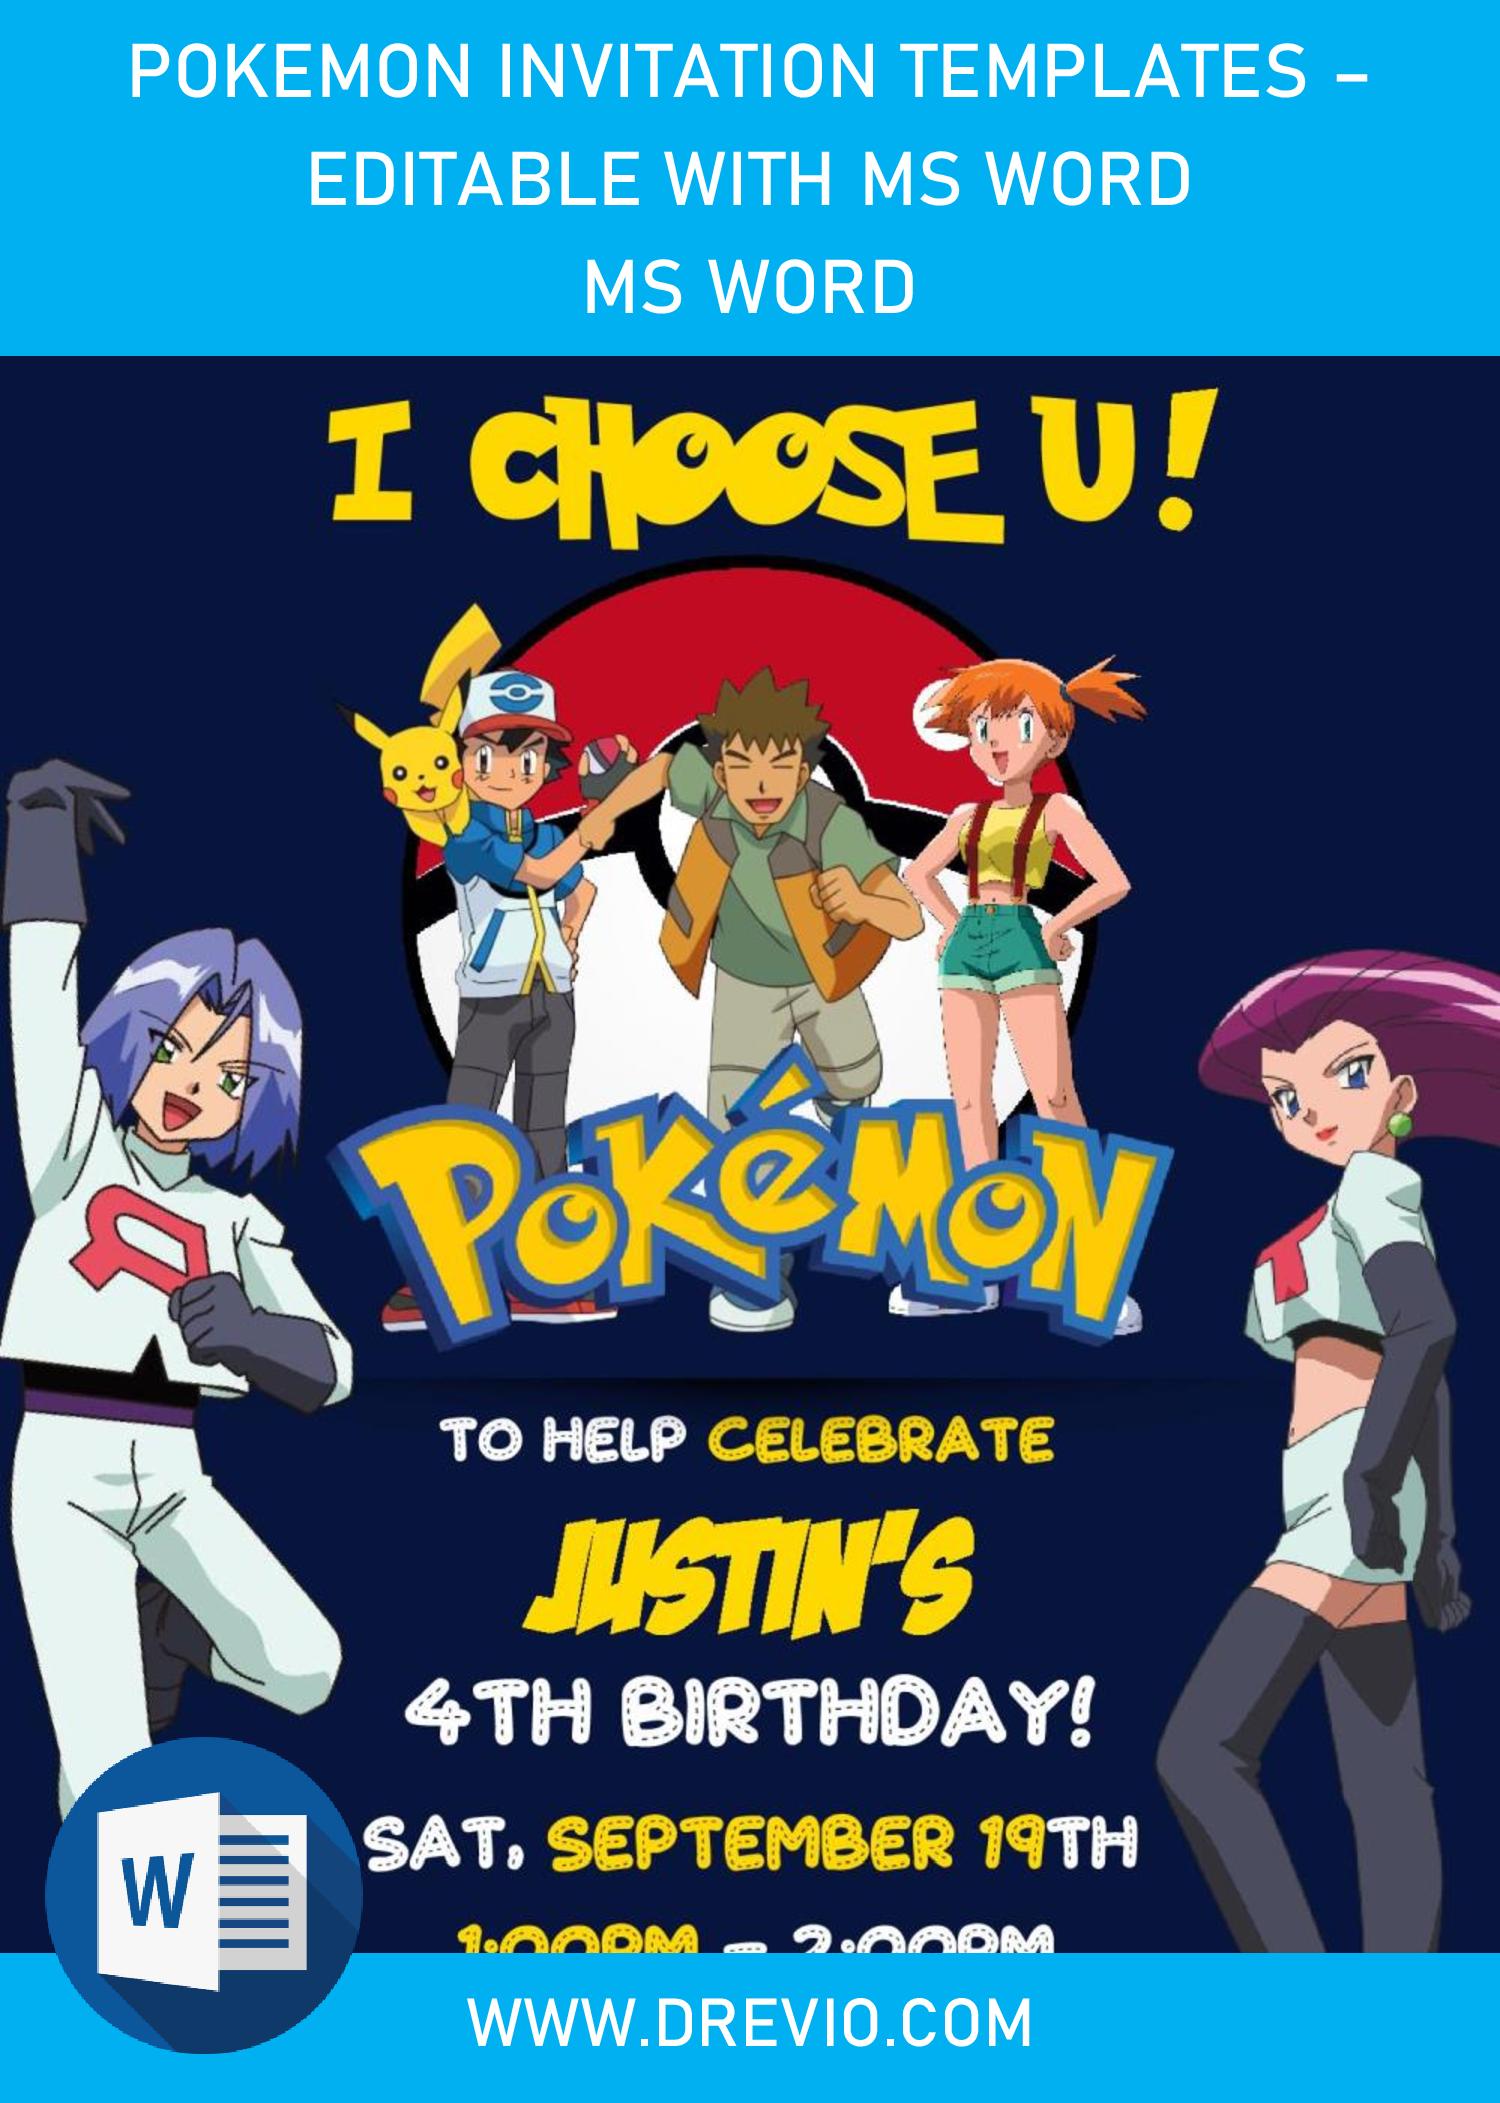
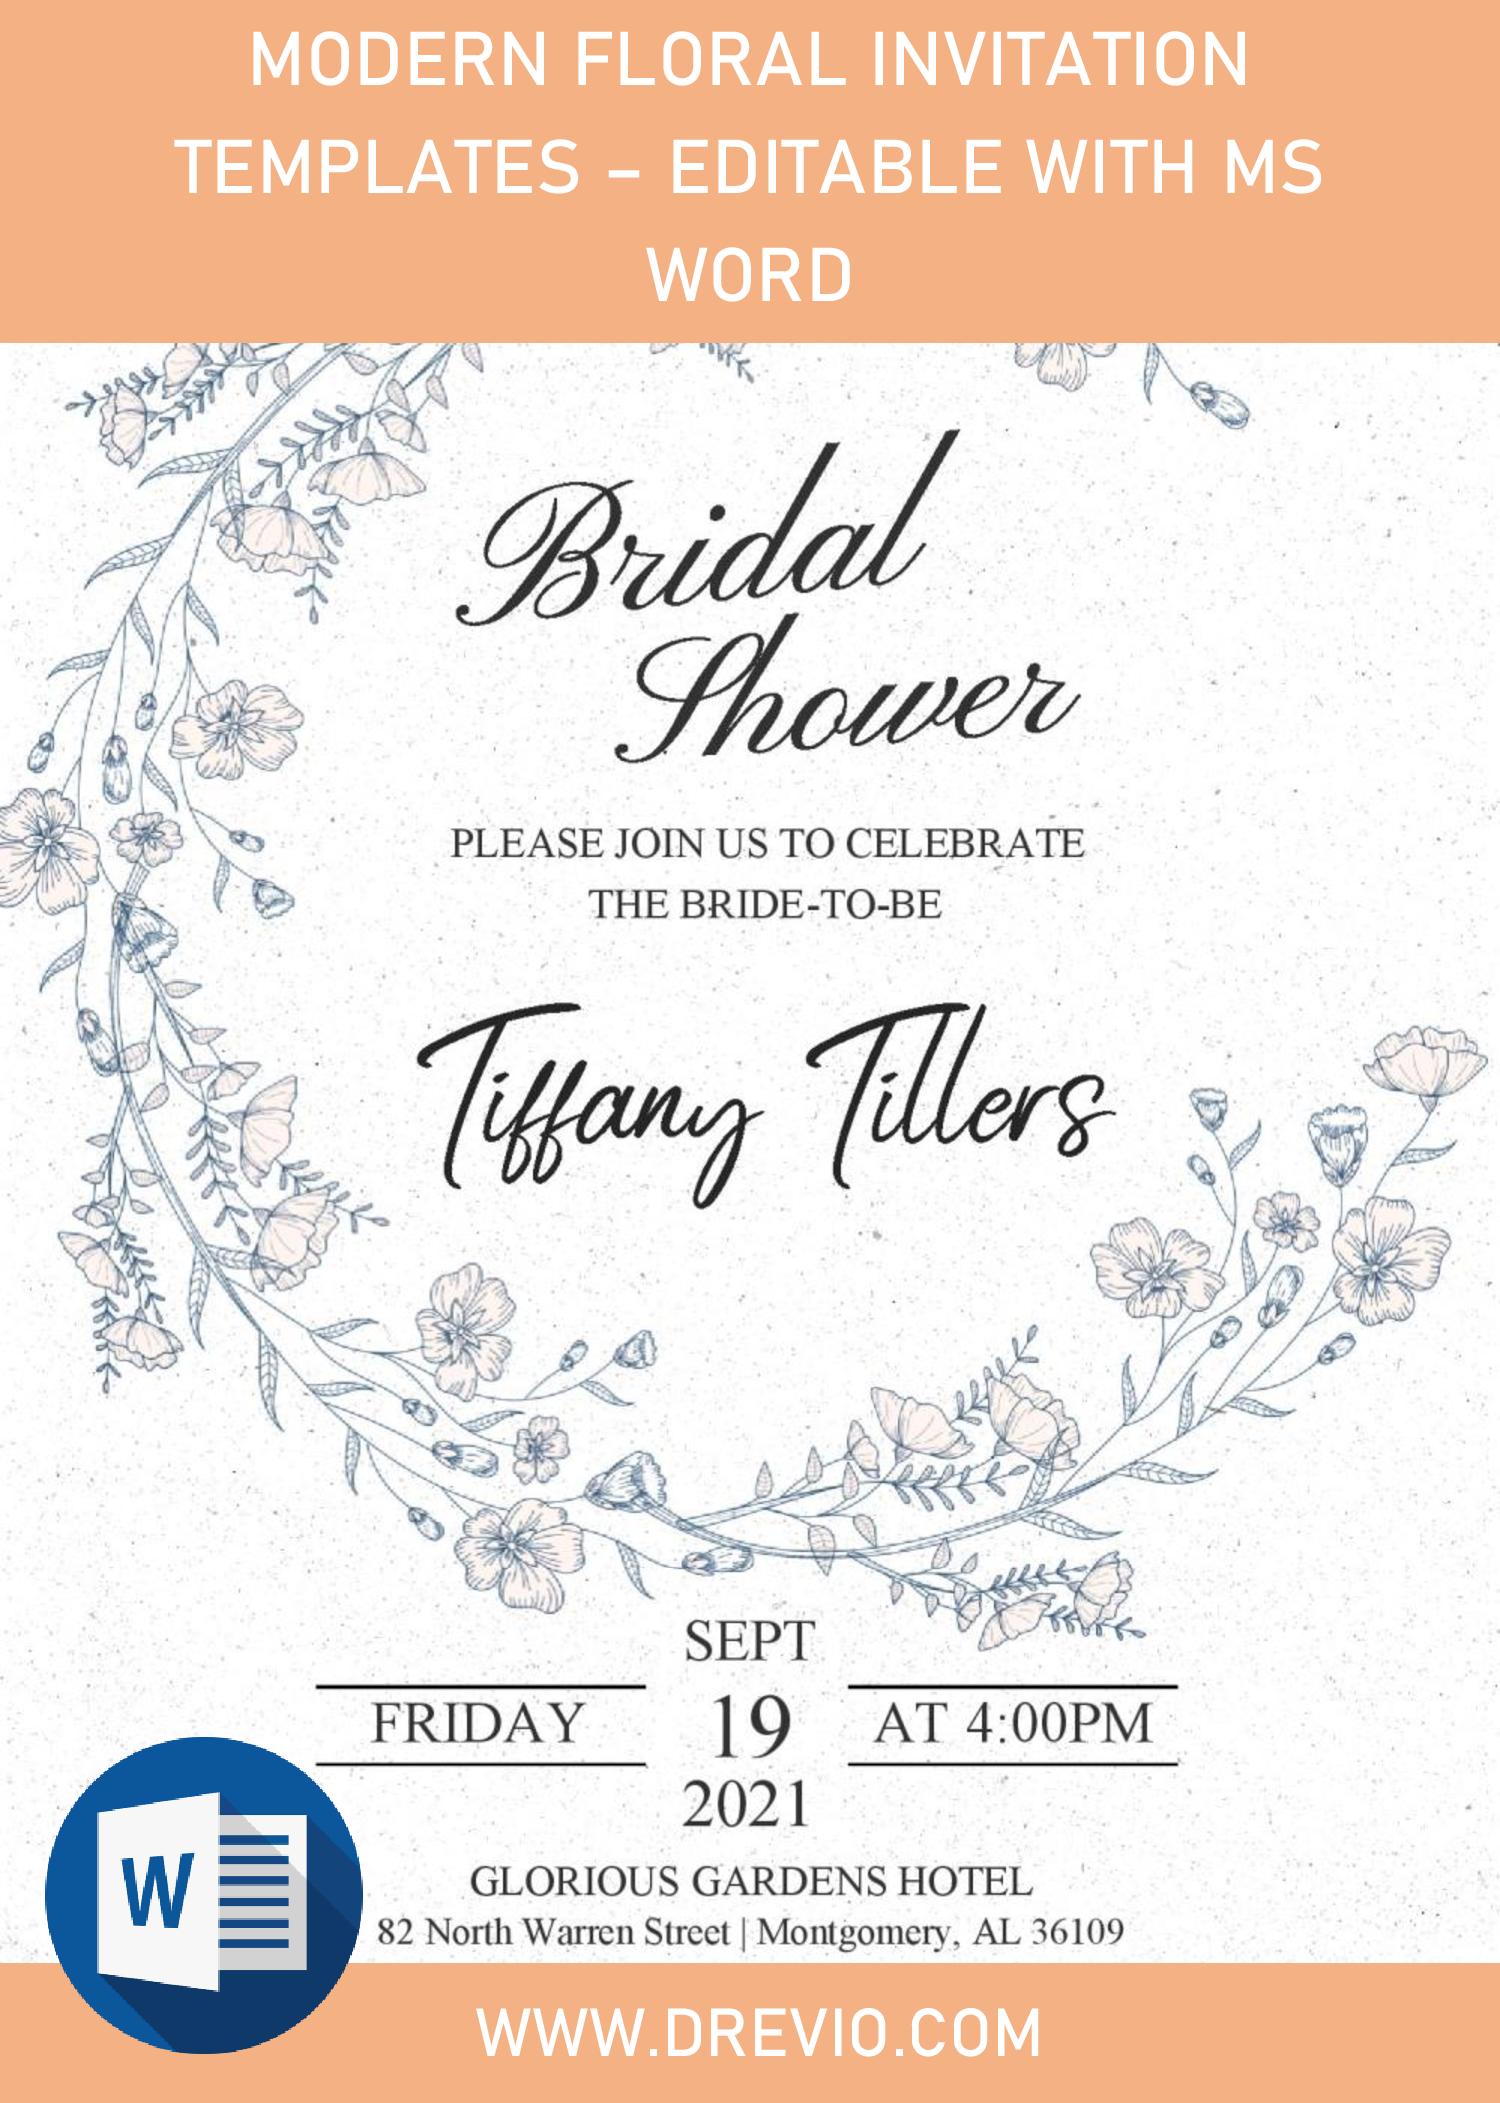
Today, we’re going to learn together, crafting our own party invitation card in Easy 3-Steps, and I’ve provided all the “material” for free and it will be editable with Ms. Word. So, you can begin the process of making the card after finished reading today’s article. Are you ready? Let’s do this, folks.
Step 1.
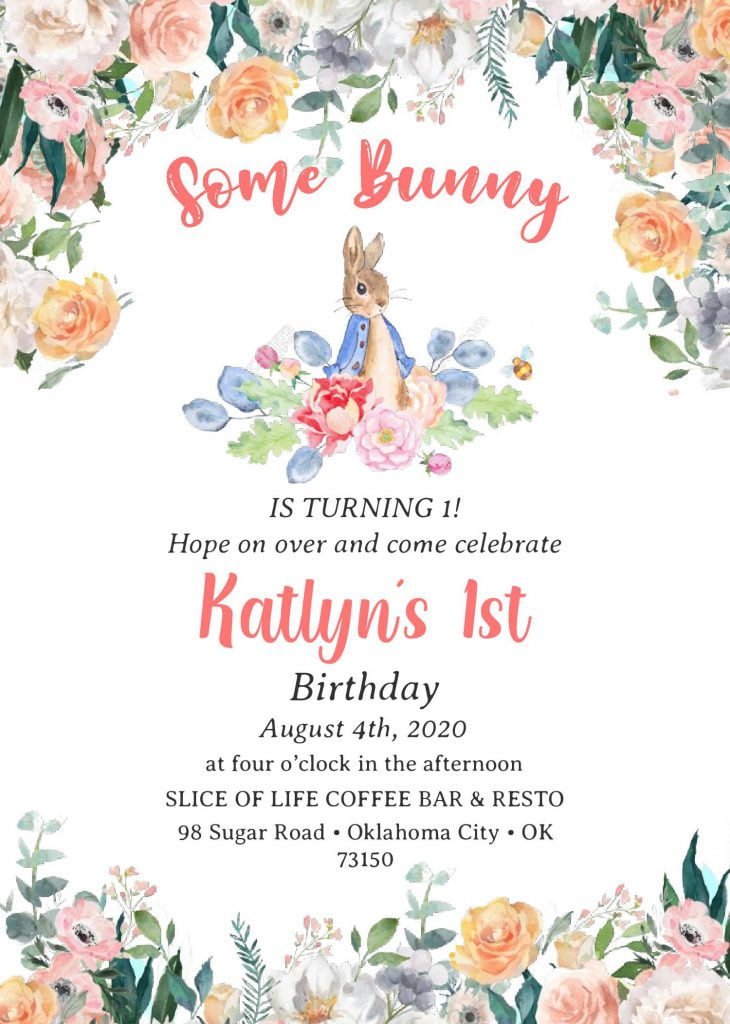
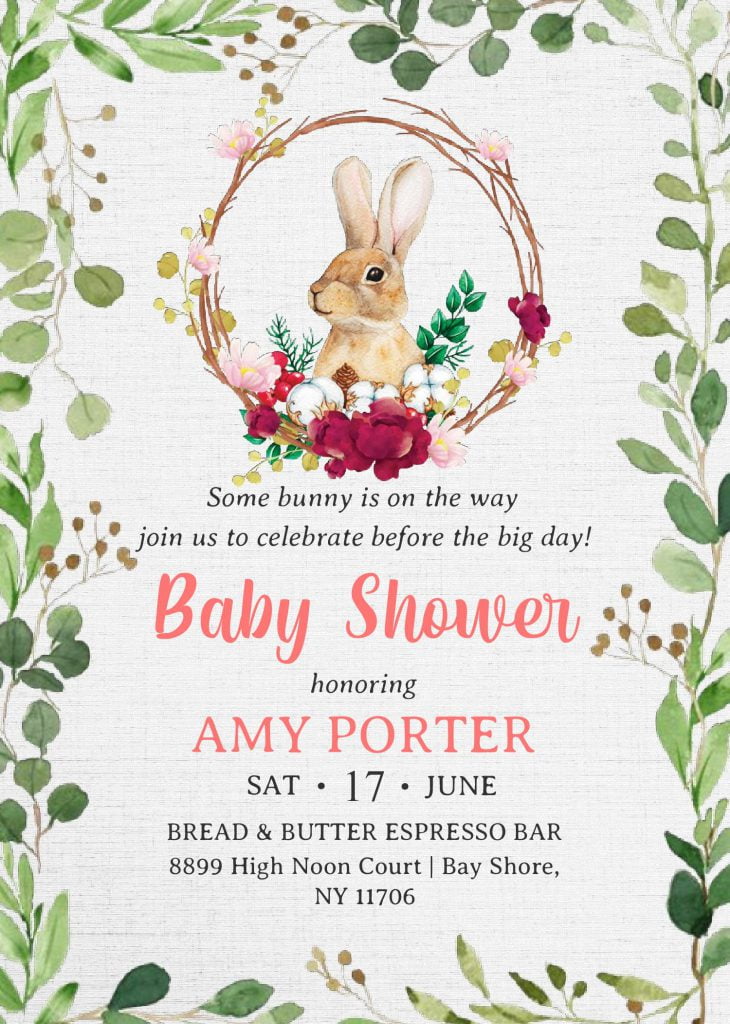
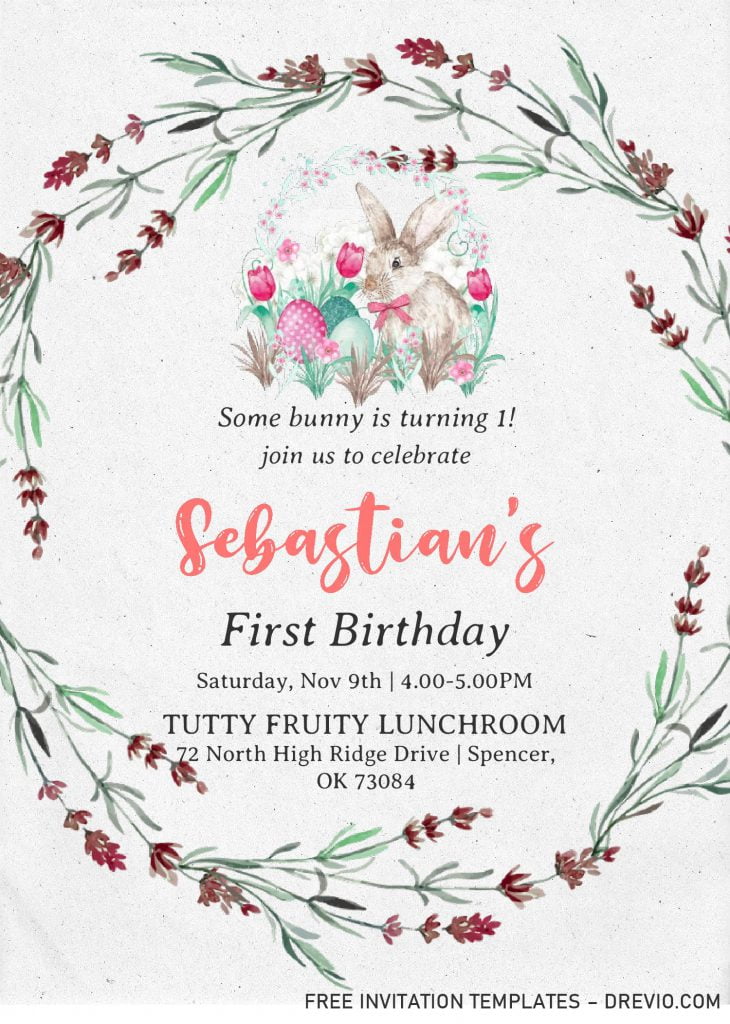
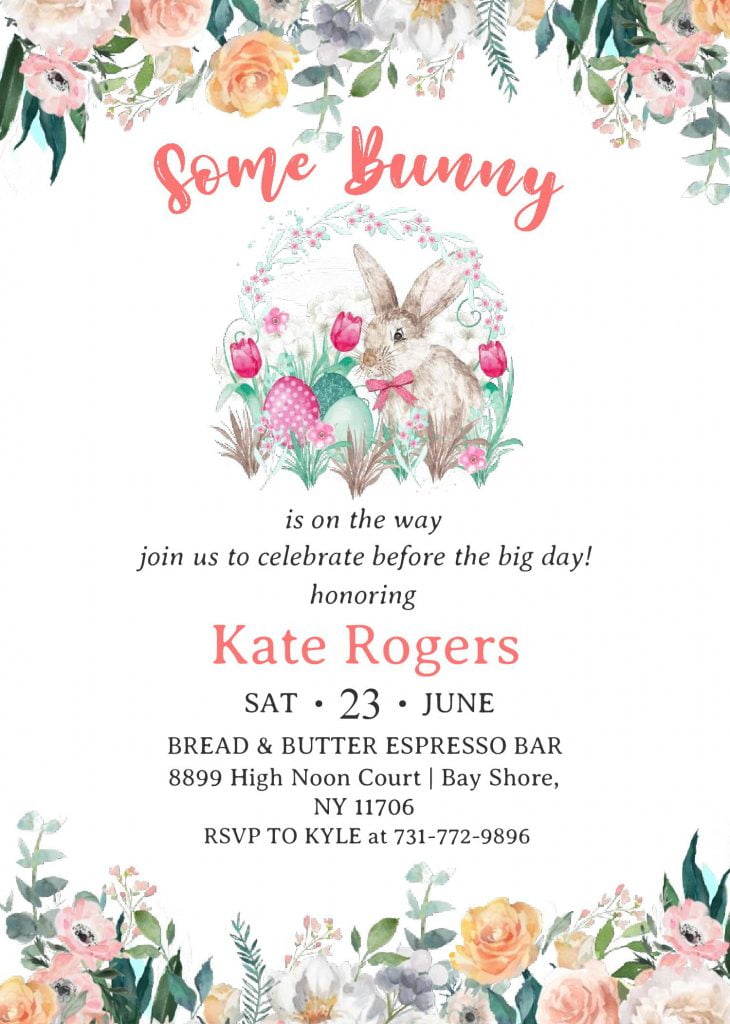
You guys may wonder how you can design your own “invitation card”, right? Chills out, guys. As I’ve mentioned it in above, I’ve made a couple of designs for you, there are six of them, each have their own “unique” parts. In general, each template has adorably made “Bunny”, which is inspired from “Peter the Rabbit”.
Let’s talk a bit more about the details. On its “main frame”, you will get two different background styles, there are Canvas and Paper grain texture. On top of them, you will be amazed by how it looks, by the way. Because you also got bunch of “Watercolor” Flowers decorating almost each corners of the card, along with cute “Bunny” illustrations and wording. Choose your favorite design, and proceed to the next step; downloading the template.
DOWNLOAD SOME BUNNY TEMPLATES HERE
Step 2.
Which one is your favorite design, folks? By the way, to download our template, you may need this following instructions, as follows:
- Click the provided link above (Blue-colored text).
- Locate the destination folder, or just leave it as it is.
- Click “Save”, or hit “Enter” key. Your download will begin shortly.
- Extract all the files with Winrar or 7Zip.
Step 3.
For beginner, you might be a bit confused to start the editing session, it’s really not that hard, by the way. As it has “Docx” File option, you’ll need to open the file using Ms. Word, let me give a few example/tips of how to insert text.
- Go to Insert > Text Box > Simple Text Box or Draw Text Box
- Click inside part of the “Text-box” and begin typing your text or copy-paste your words.
- To move the boxes, you only need to click the edge of that box until it shown “4 headed arrows”, Hold and drag it wherever you want.


